

I have to confess. I have a new obsession and it's not vanilla beans. Rhubarb. Yum. Have you ever seen these pretty pink stalks at the grocery store? It looks like celery except a pretty pink. How could you not like anything pink? It was funny because one day as I was grocery shopping I came upon some rhubarb and was like... hm, this is a vegetable but I remember seeing it in a dessert recipe...??? I didn't end up buying any but immediatly went home and googled it. I came upon a million recipes which call for rhubarb, mostly desserts and baked goods. They all looked amazing. So... I chose to make a simple sponge cake and fill it in the middle with some cooked rhubarb and strawberry mix. It was sooooooooooooooo delicious. The next day I was back at the store for more rhubarb. I needed to make sure to try at least a few more recipes with this wonderful spring veggie while it's in season. Many recipes pair the tart rhubarb with sweet strawberries. This creates a wonderful tangy and fruity taste. Last weekend I made Rhubarb Crumb something.... from my Williams and Sonoma baking book. Paired with some vanilla ice cream, and I was in heaven. Lets just say, I love everything about rhubarb. I decided to share a recipe with you that I adapted from Joy of Baking. Individual Strawberry Rhubarb Tarts.
On a side note, I will not be blogging for at least three weeks as I am leaving to Belarus tommorow. Please pray for my husband Zhenya and I, and for the rest of our Hand in Hand group. Pray that the kids open up their hearts to God's Word and that we are prepared to share it with them.
**** Side note: I am now finishing this three days later and in an huge apartment on he 15th floor in Kiev, Ukraine. During my blogging the night before we flew out a thunderstorn hit my in-laws house causing power outages and a tree in the yard as well as on my sister in law's car. What a huge mess!!!! Thank you GOD for being merciful to us!!! ***
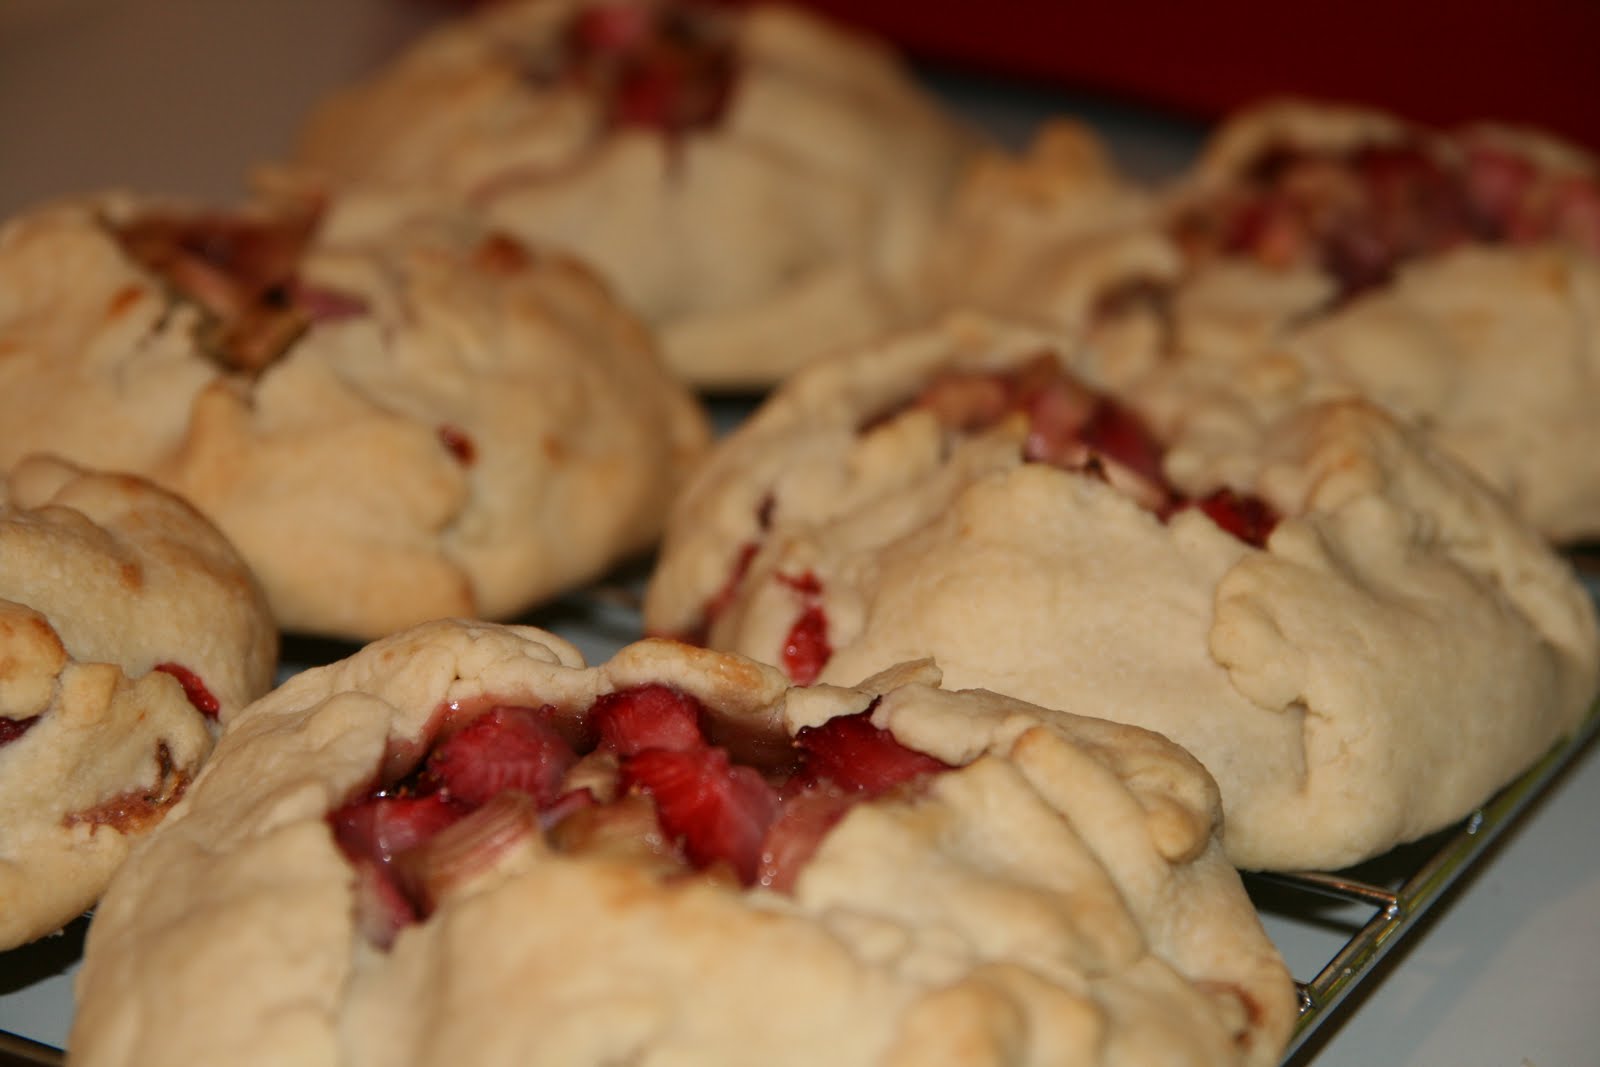
Individual Strawberry Rhubarb Tarts
Adapted from Joy of Baking
You will need:
For Pastry Crust:
*2 1/2 cups flour
*1 teaspoon salt
*1 tablespoon white sugar
*1 cup unsalted butter, chilled, and cut into 1 inch pieces
*1/4 to 1/2 cup ice water
*Filling (see below)
 1. First make the crust. In a food processor or electric mixer, place the flour, salt, and sugar and process until combined.
 2. Add the butter and process until the mixture resembles coarse meal (about 15 seconds).
  3. Pour 1/4 cup (60 ml) water in a slow, steady stream, through the feed tube until the dough just holds together when pinched.
 4. Add remaining water, if necessary. Do not process more than 30 seconds.
 5. Turn the dough out onto your work surface and gather it into a ball.
 6. Divide the dough into two equal pieces,flatten each portion into a disk, cover with plastic wrap, and refrigerate for 30 minutes to one hour before using. This will chill the butter and allow the gluten in the flour to relax.


For Filling:
*1 pound rhubarb cut into 1 inch pieces (approximately 3 cups)
*1 pound fresh strawberries, cut into 1 inch pieces
*1/4 - 1/3 cup flour
*3/4 - 1 cup white sugar
 7. In a large bowl, combine the cut up rhubarb, cut strawberries, flour, and sugar.
 8. Once the pastry has chilled sufficiently, remove the two disks of pastry from the refrigerator and divide each disk into four equal portions (you will have eight portions altogether).
 9. On a lightly floured surface, roll each portion of pastry into a 7 inch (18 cm) circle.
 10. Place approximately 1/2 - 3/4 cup of filling in the center of each pastry circle, spreading the filling out to about 1 inch (2.54 cm) from the edge of pastry.
 11. Gently fold the edges of the pastry circle up and over the filling, leaving the center of the tart open. Press the edges gently so the pastry sticks together. Once all the tarts are assembled, cover and return to the refrigerator for about 15 - 30 minutes to chill.

 12. Meanwhile, preheat the oven to 400 degrees F.
13. Bake the tarts for approximately 25-30 minutes or until the crust is golden brown and the juices are bubbly and starting to run out from the center of each tart.
 14. Remove from oven and place on a wire rack to cool before serving. Serve with softly whipped cream or vanilla ice cream.


 14. Remove from oven and place on a wire rack to cool before serving. Serve with softly whipped cream or vanilla ice cream.
Enjoy!!!!!


